Last month, we talked about SimpleVideoCutter. This time, we'll be looking at a more advanced video editor called Shotcut.
Shotcut is an open source video editor for the Windows, Linux, and macOS operating systems. The application has a ton of features, and in this review, I'm giving you an overview of the program's main functionality.
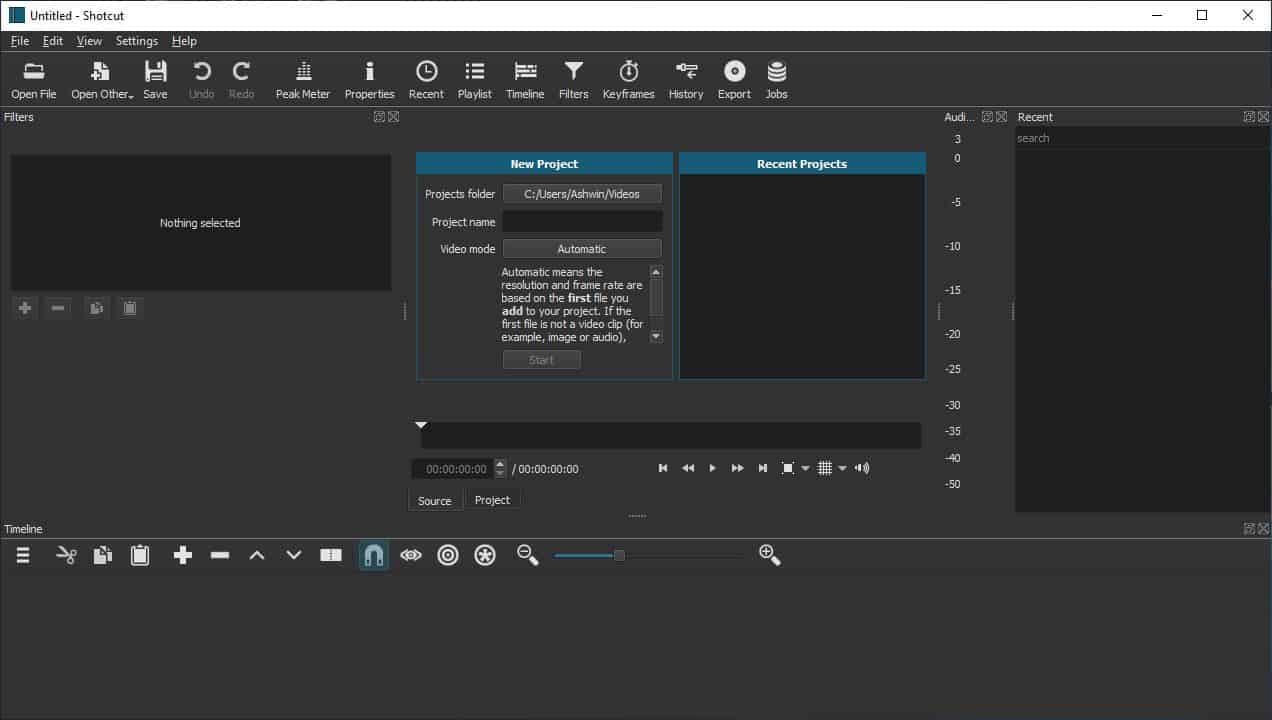
The start screen of the application looks complex, but once you get past it, the program turns out to be user-friendly. First things first: select the project folder, name and video mode (resolution) and click on the Start button. There are some panels on the left and right sides of the screen, these are the Filters, Peak Meter and the Recent panes. You can close these if you don't need them, they can be recalled from the toolbar at the top. The GUI should look simpler already.
Getting Started
Use the File menu or click on the Open File option in the top left corner to add some videos to edit; the video will load in the preview pane. If you added more than one file, you will see the Playlist pane and it lists each video that you have added, the duration and thumbnail. Use the toolbar at the bottom of the pane to add/remove items to the playlist or switch the view.
Shotcut also supports images and audio tracks, so technically you can create a photostory, or use images at the beginning or the end of a video.
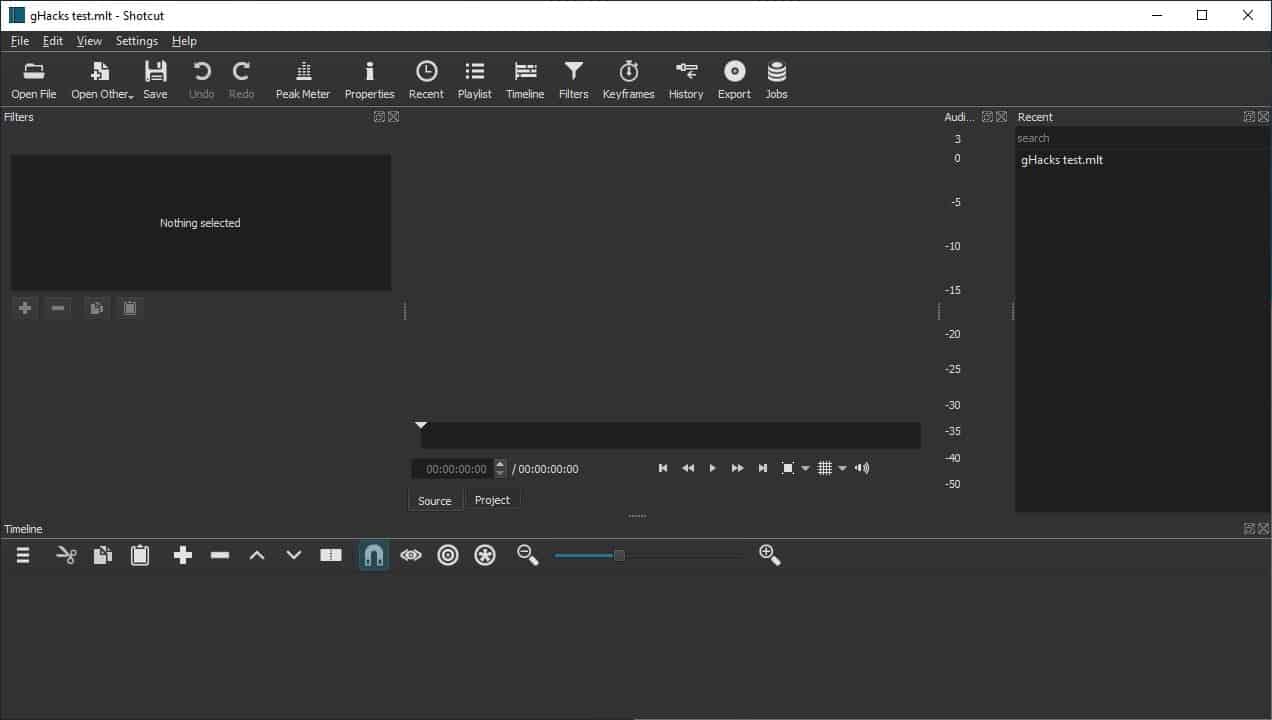
Image formats supported by Shotcut include JPEG, PNG, GIF, BMP, SVG, TGA, TIFF, WebP. You can also capture stills, record videos from your webcam, and also use your microphone as an audio source. The Filters panel allows you to add cool effects to your video like fade in/out, text, gain, brightness, contrast, and more.
Toolbar
The toolbar has options to undo and redo, as well as toggles for most of the panels on the interface. You can use the View menu for enabling or disabling the elements. The layout options in particular are quite nice, and you can save your custom layout with only the panels that you want.
Preview Pane
The video player in the interface is in the preview pane. Enable an optional grid view, zoom using the toolbar below the player, and use the seekbar to jump to the specific time. You can also use the preview player to edit videos, this is something you don't see in many editors. There is a video layout that is called Clip-only project which is great for editing from the player. See those arrows on either end? Click and drag them towards the other and you'll trim the video.

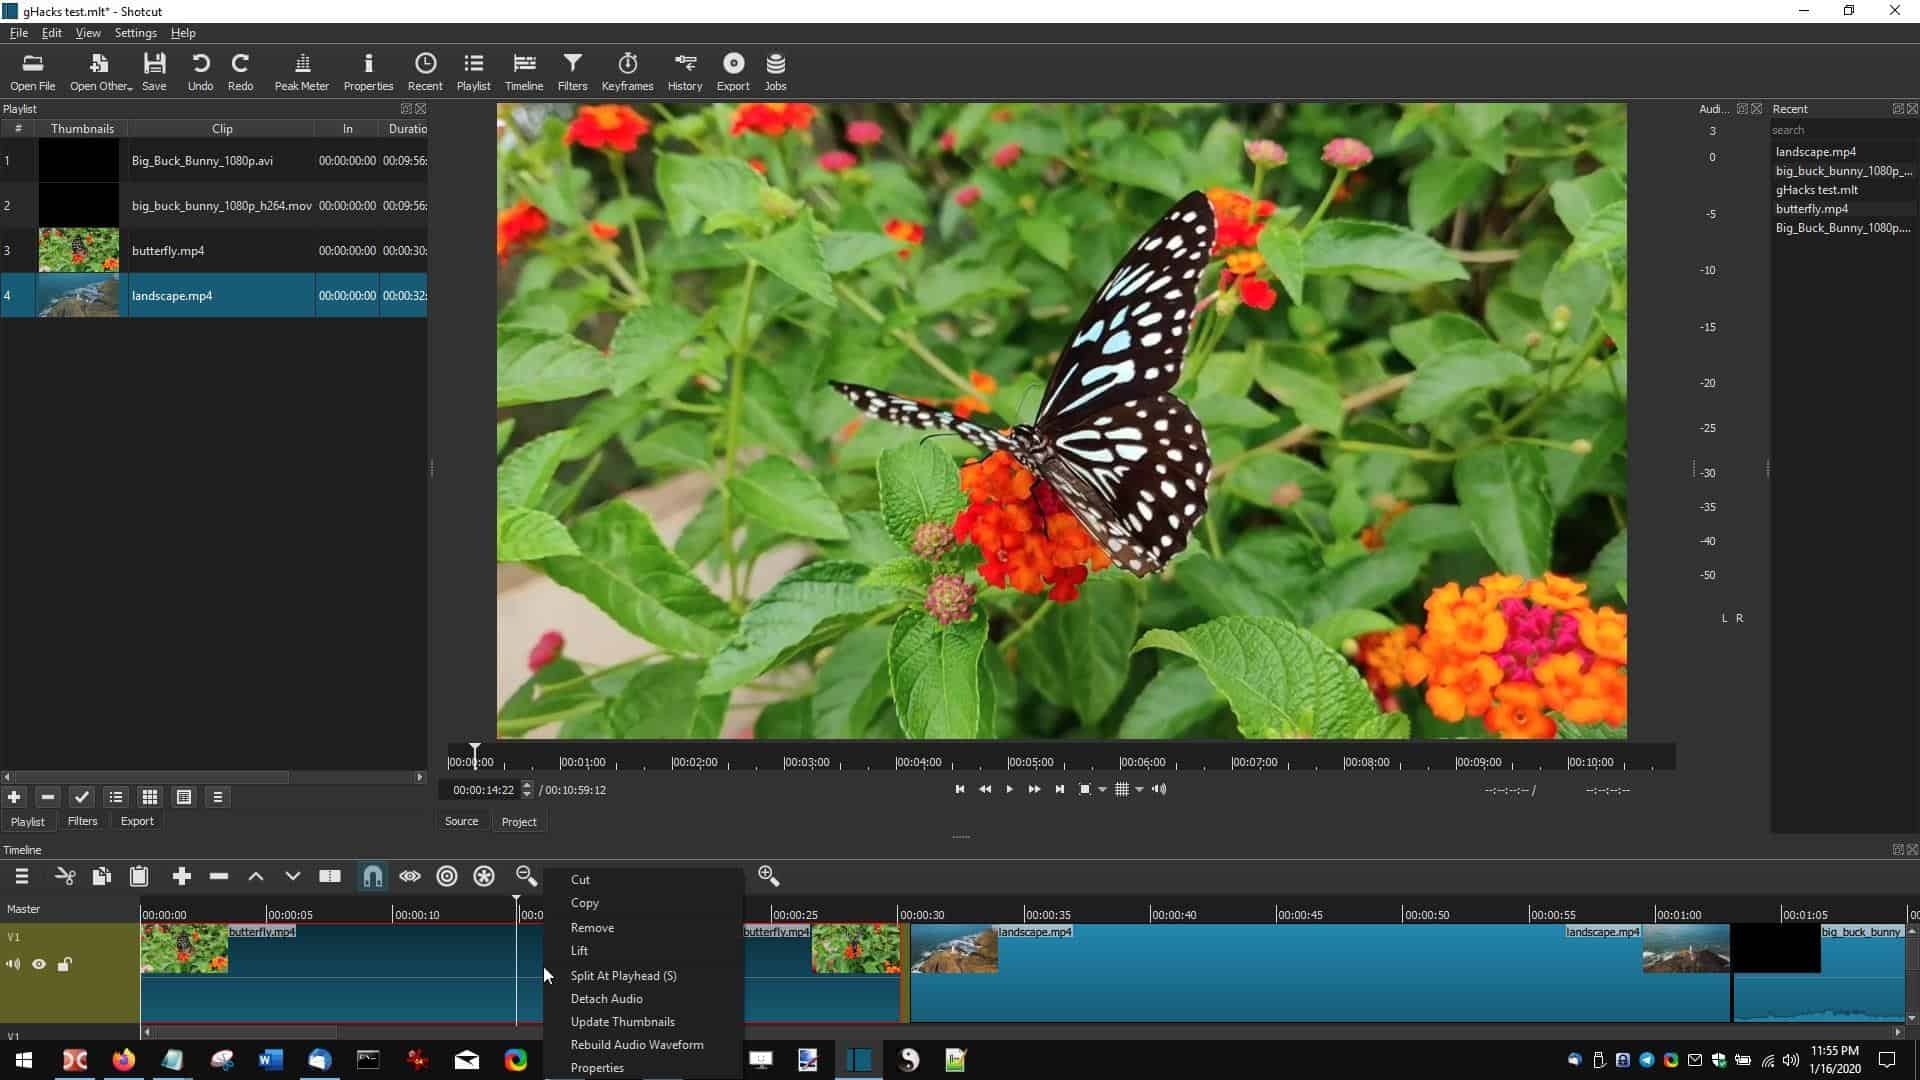
Timeline
Unlike in most video editors, you won't see the selected video on the timeline. So, you'll need to manually drag a video or audio track from the playlist to the timeline to edit it. The timeline provides another way to trim the video by dragging from the left or the right.
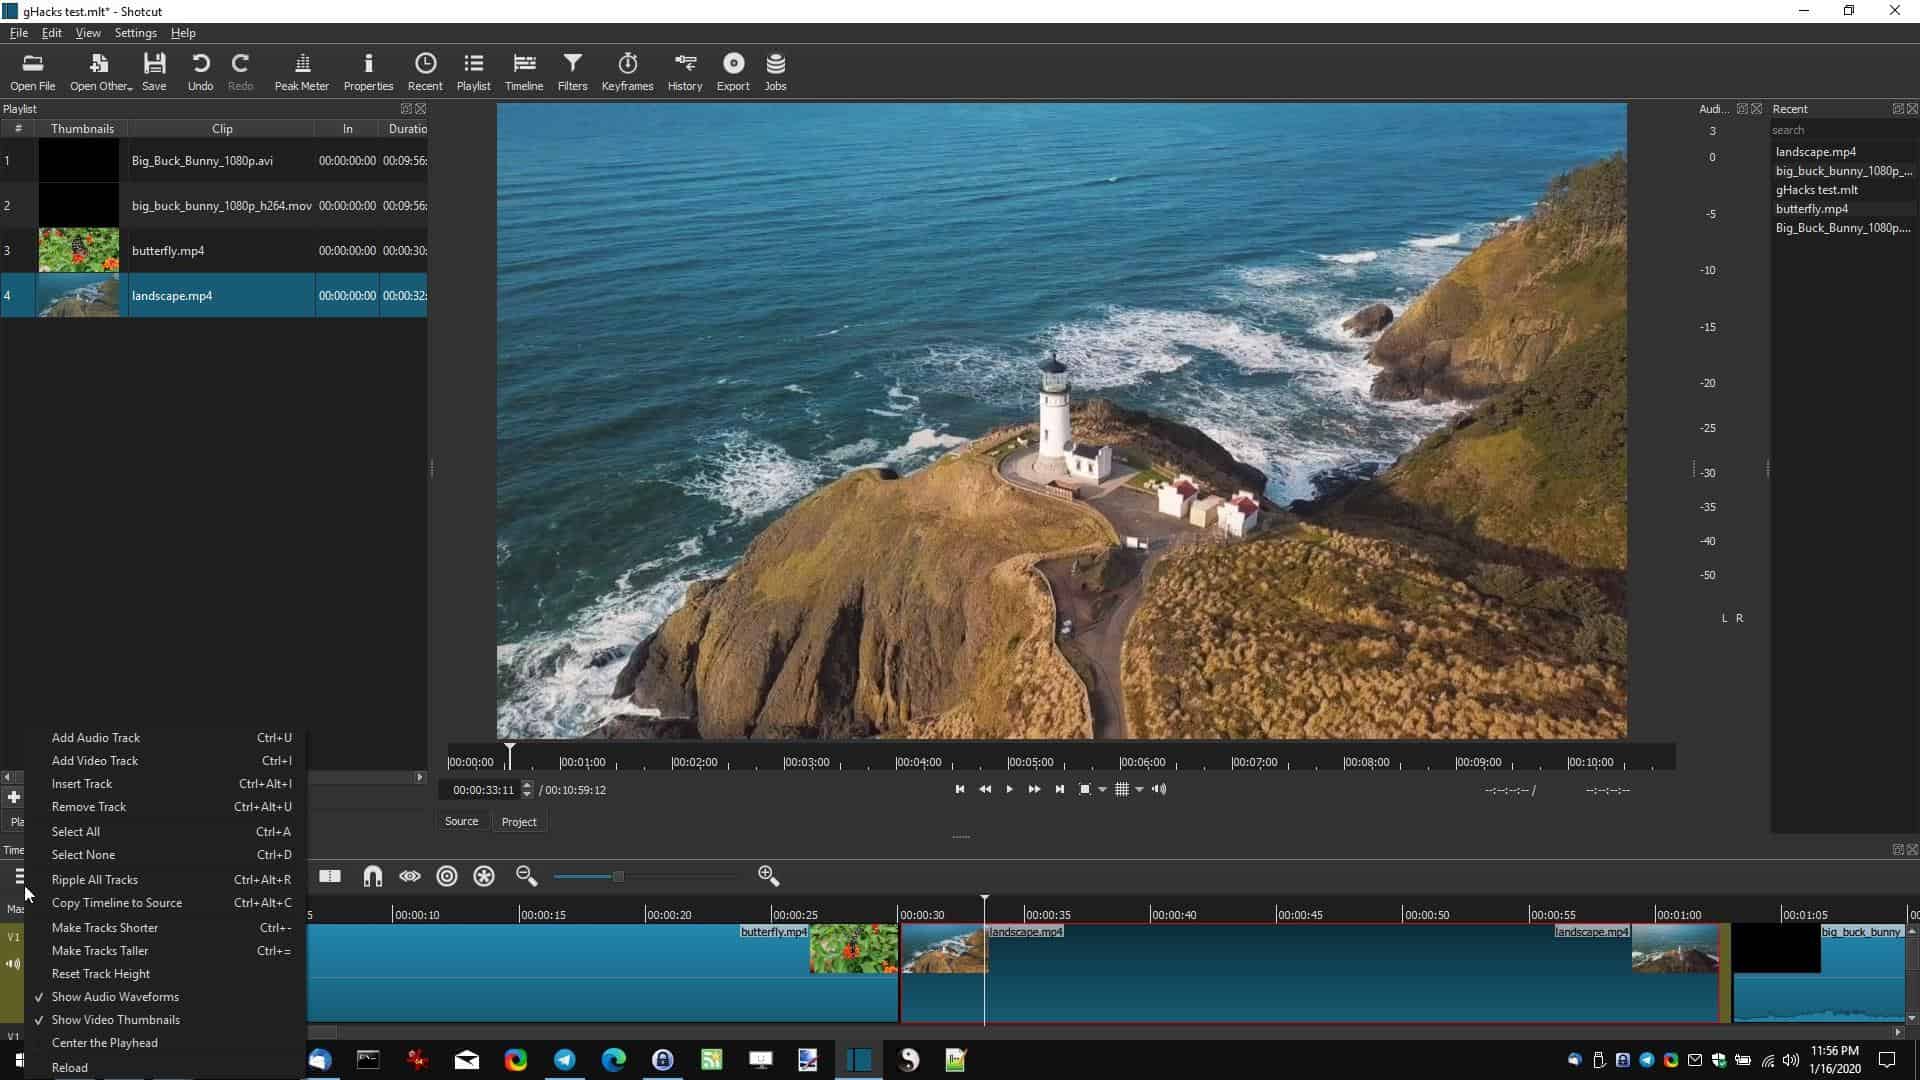
Play the video and the "playhead" cursor should start moving. Let's say you want to split the video, pause it and click on the "Split at playhead" button on the timeline toolbar (it's to the left of the horseshoe icon). Now your video is split into two parts, and you can trim them as necessary. The Snapping option makes it easy to drag videos in the timeline; try it with the option disabled and you'll notice that the videos don't stick to the position you move.
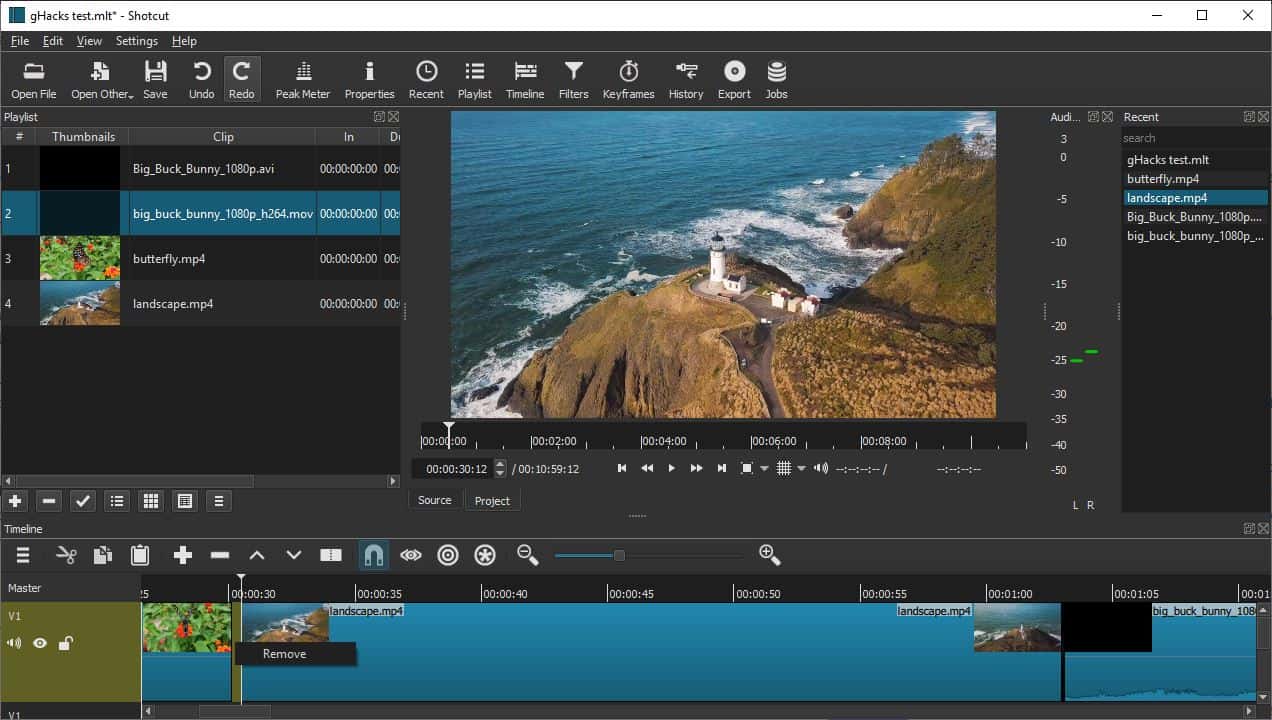
Highlight a clip and select one of the options on the timeline to cut, copy, or paste it elsewhere. The Ripple editing options affect the entire timeline, say for example, you move one clip the rest stick to their time positions. If you enable rippling and try moving the clip, they'll all move to reflect the change. Right-click on a blank space (a gap) between two videos and select remove, and it will delete the gap instantly, allowing for a free-flowing video.
The "Scrub while" dragging option is just a fancy way for seek-while-dragging the cursor. Hold down shift and move the mouse to skim, another way to seek through the timeline, while the video is playing.
Output
Projects can be saved as .MLT files, but you have many options to export the video. When you're done with the project, hit the Export button on the toolbar. The Export presets will be loaded on the left edge of the screen. Hit the advanced options and you'll see that Shotcut supports video formats such as MP4, MKV, HEVC, H264, MP3, WAV, FLAC, FLV, AVI and many more. There is even support for YouTube ready format too. You can also select the video resolution, aspect ratio, frames per second, codec, audio channels, samplerate, bit rate among other options.
There is an optional Light theme available that you can switch from the Settings menu, should you not like the Dark one.
Closing Words
Shotcut is a Qt-based application. It is available in 32/64 bit versions, and comes as an optional portable version. The program is good and I've barely scratched the surface here.
There are a lot of options for the audio and video (compositing, deinterlacing, histogram, waveform, and more). Take your time with it, test a few options a day, before moving to the next. Read the documentation, andget familiar with the keyboard shortcuts. It belongs to the rare "it's user-friendly, but is also powerful" category. The editing options, especially the trimming is unbelievably easy when compared to other editors.
Thank you for being a Ghacks reader. The post Shotcut is an open source video editor for Windows, Linux, and macOS appeared first on gHacks Technology News.
Post a Comment