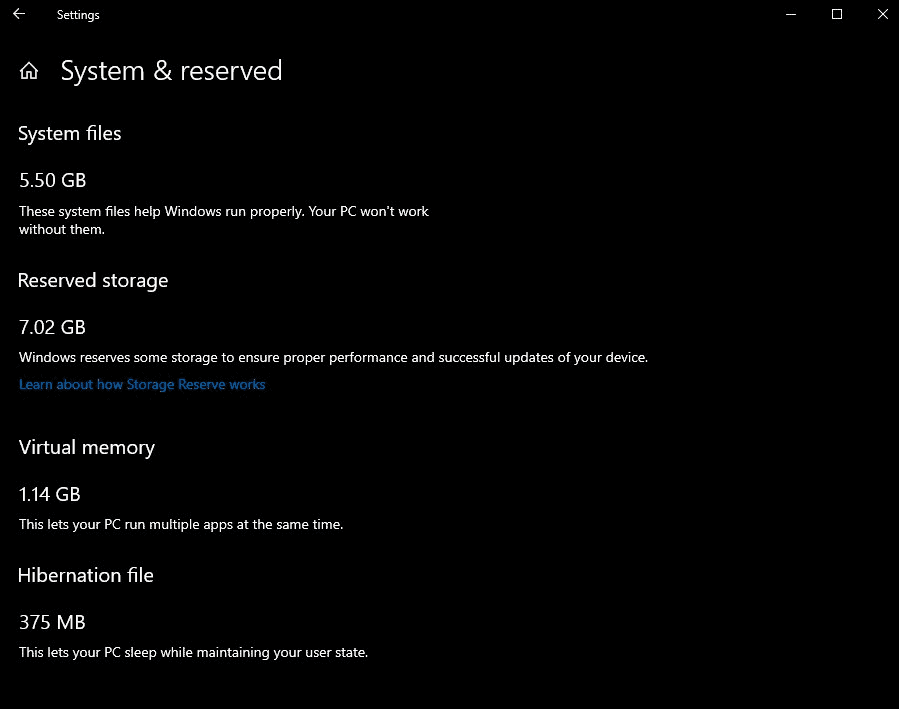
Microsoft introduced Reserved Storage in Windows 10 version 1903. Reserved Storage reserves storage for the operating system that is used exclusively for system updates, temporary files and other system activities.
The main idea behind Reserved Storage is to improve the reliability of critical system procedures, e.g. updating to new versions of Windows 10, that require a certain amount of storage.
Downside to Reserved Storage is that several Gigabytes of storage become unavailable for user activities, e.g. downloads, program installations or media.
Reserved Storage is limited to new installations of Windows 10 version 1903 or newer at the time of writing. Systems that get upgraded from earlier versions of Windows 10 won't have Reserved Storage enabled.

Windows 10 users who run Windows 10 version 1909 or 1903 can use the following method to check whether Reserved Storage is enabled on the device:
- Use the shortcut Windows-I to open the Settings application.
- Go to System > Storage.
- With the c: drive selected on the page, select "show more categories"
- Activate "System & reserved".
- Reserved Storage is listed on the page that opens next to other system storage, e.g. system files or virtual memory, if it is enabled. If you don't see Reserved Storage, it is not used.
Starting in Windows 10 version 2004, the next Feature Update of Windows 10 and the first feature update of 2020, Microsoft will make it easier for administrators to manage Reserved Storage. In particular, Microsoft added DISM options to check, enable, or disable Reserved Storage on devices running that version of Windows 10.
Up until now, it was required to edit the Registry on the Windows 10 device to activate or deactivate Reserved Storage.
Here is the list of the new commands and an explanation for each of these:
- Start an elevated command prompt window, e.g. by opening Start, typing cmd.exe and right-clicking on the result and selecting the "run as administrator" option.
- Now run one of the following commands:
- Check Reserved Storage: DISM.exe /Online /Get-ReservedStorageState
- Activate Reserved Storage: DISM.exe /Online /Set-ReservedStorageState /State:Enabled
- Deactivate Reserved Storage: DISM.exe /Online /Set-ReservedStorageState /State:Disabled
The new commands make it easier for administrators to check, enable or disable Reserved Storage on Windows 10 devices. An option to change the size of Reserved Storage is still not available.
Now You: Reserved Storage, a good idea? (via Deskmodder)
Thank you for being a Ghacks reader. The post Windows 10 version 2004: better Reserved Storage management appeared first on gHacks Technology News.
Post a Comment